The quick version
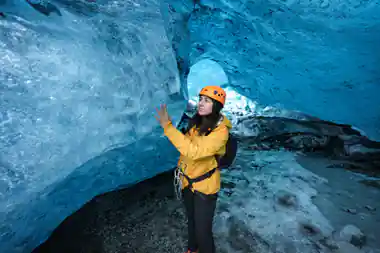
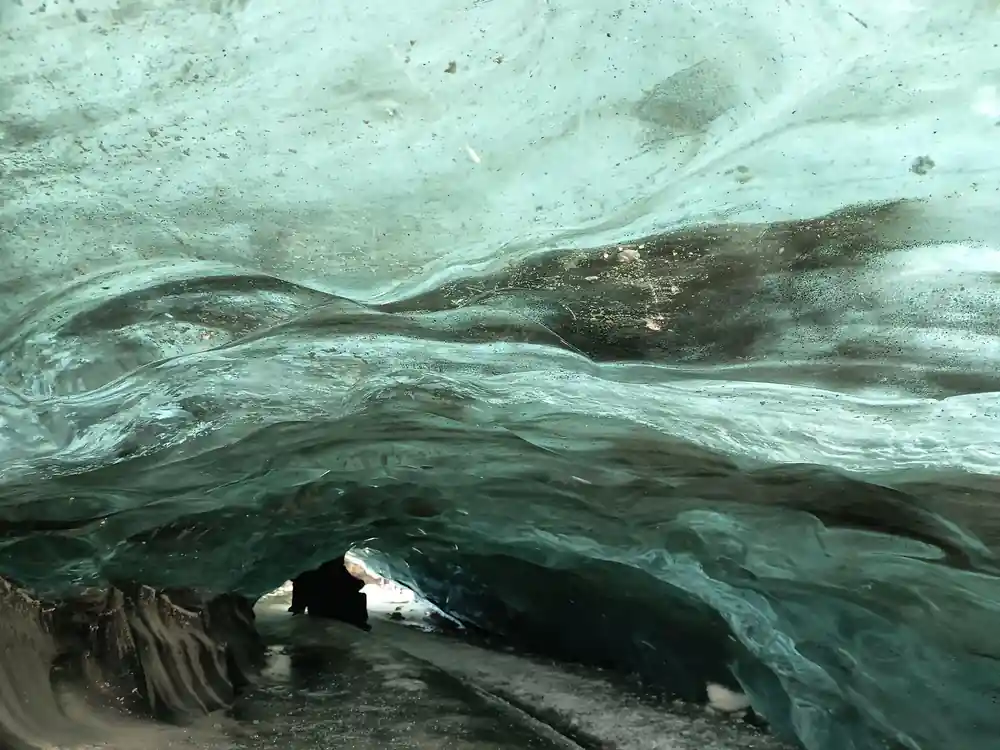
- Blue ice glowing under the cave roof, frozen formations on the walls, and a jeep transfer to Vatnajökull National Park.[1]
- Natural ice caves in Vatnajökull form in October and last through April, then the returning meltwater takes them back in May.[2]
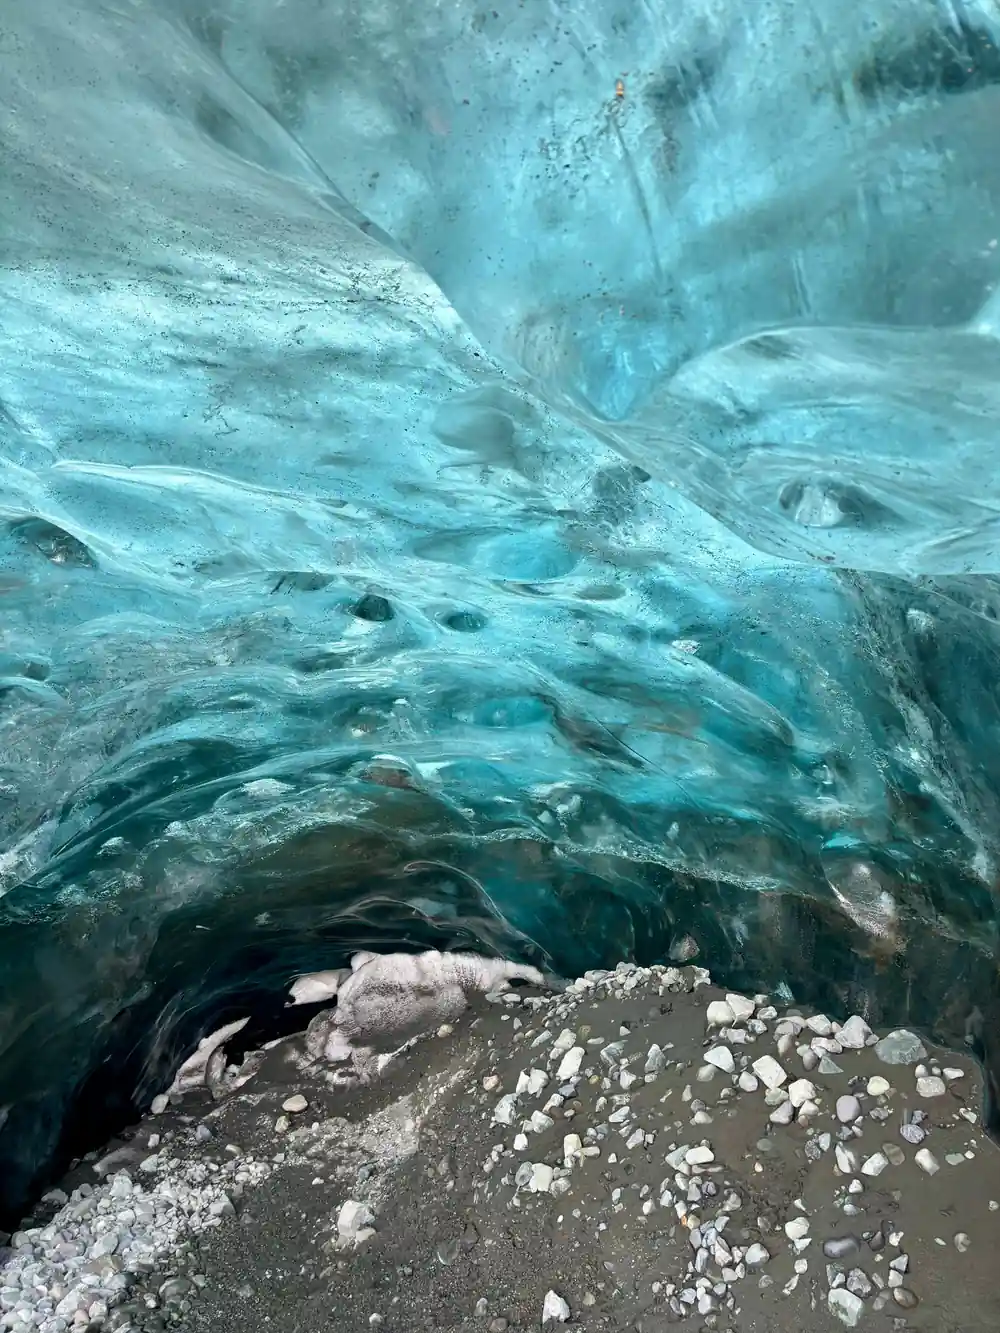
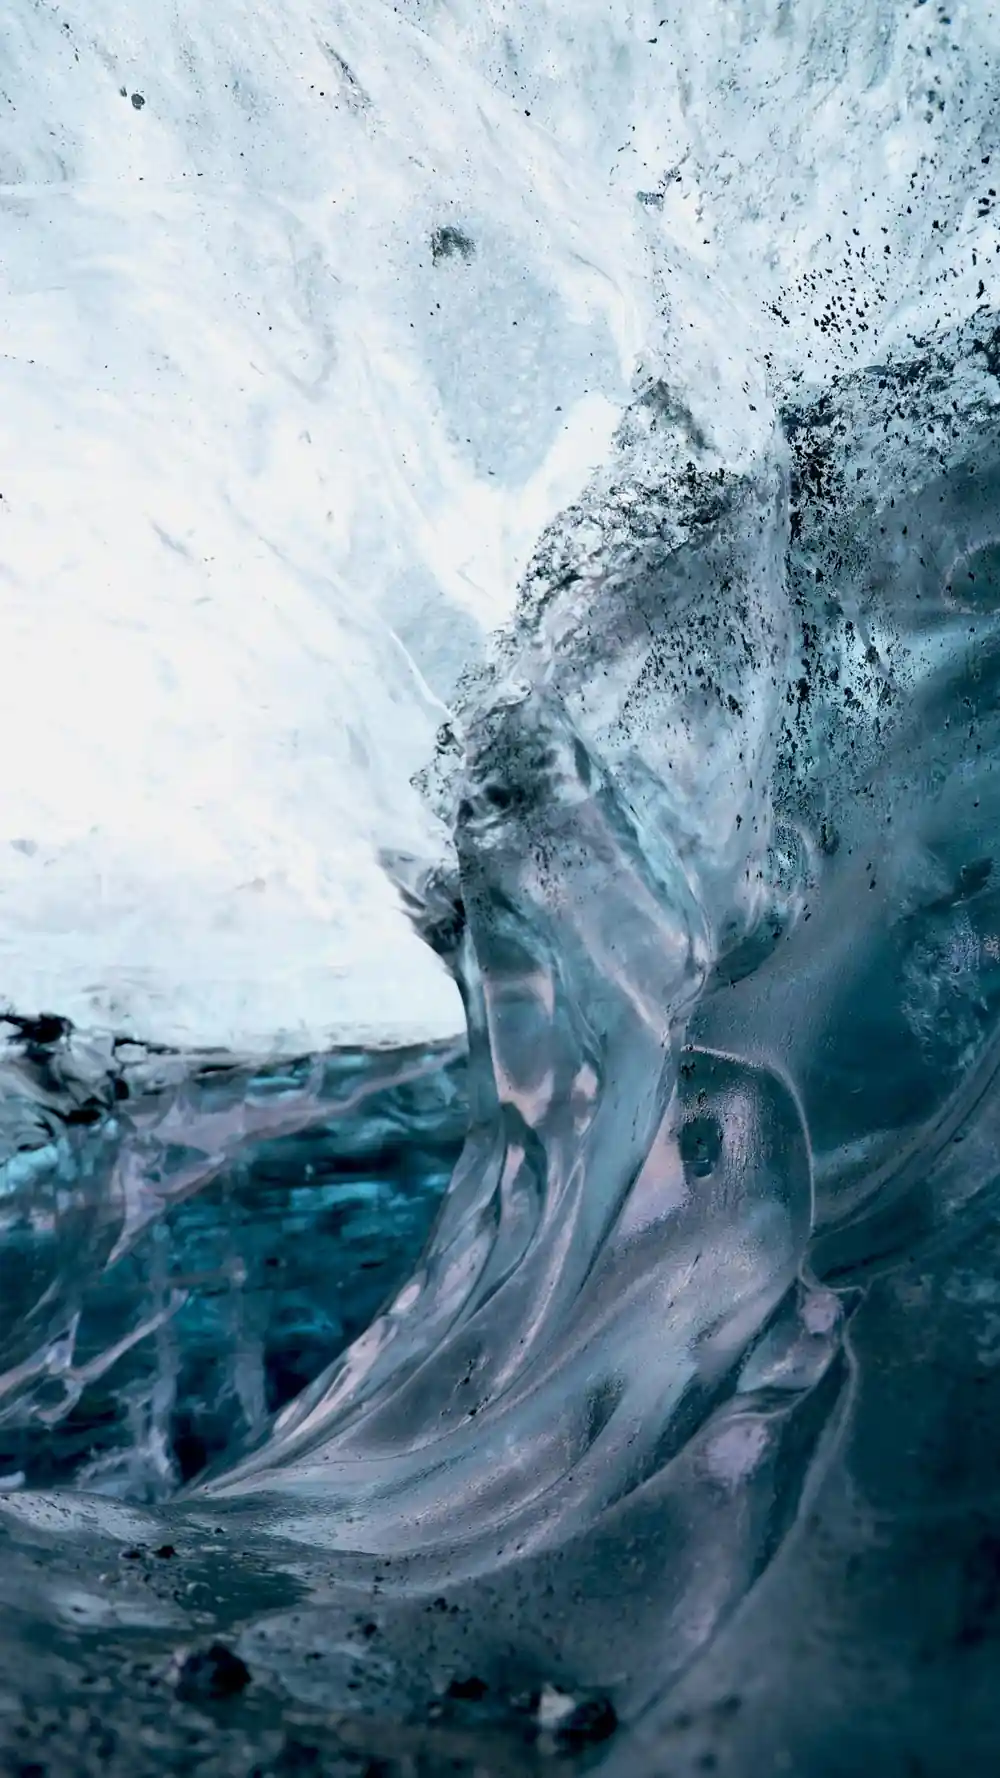
- Deep glacier ice absorbs long wavelengths of light and scatters short-waved blue light, which is what makes the ice look blue in your files.[3]
- Iceland's average winter temperature sits at around 32°F (0°C). Spare batteries, a dry cloth and warm gloves earn their place in the bag.[4]
- Jökulsárlón is about 370 km (230 miles) from Reykjavík and the drive takes roughly 5 hours each way in good conditions.[5]
- Top choice Vatnajökull Ice Cave Tour from US$164 Duration3 hours[1]Rating4.25 from 2,171 reviews[1]Live guideEnglish[1]CancellationFree up to 24 hours ahead[1] Check availability
- Crystal Ice Cave Super Jeep from US$173 Duration2.5 hours[6]Rating4.21 from 1,751 reviews[6]Live guideEnglish[6]CancellationFree up to 24 hours ahead[6] See this tour
- The Original Ice Cave Tour from US$161 Duration3 hours[7]Rating4.61 from 1,129 reviews[7]Live guideEnglish[7]CancellationFree up to 24 hours ahead[7] See this tour
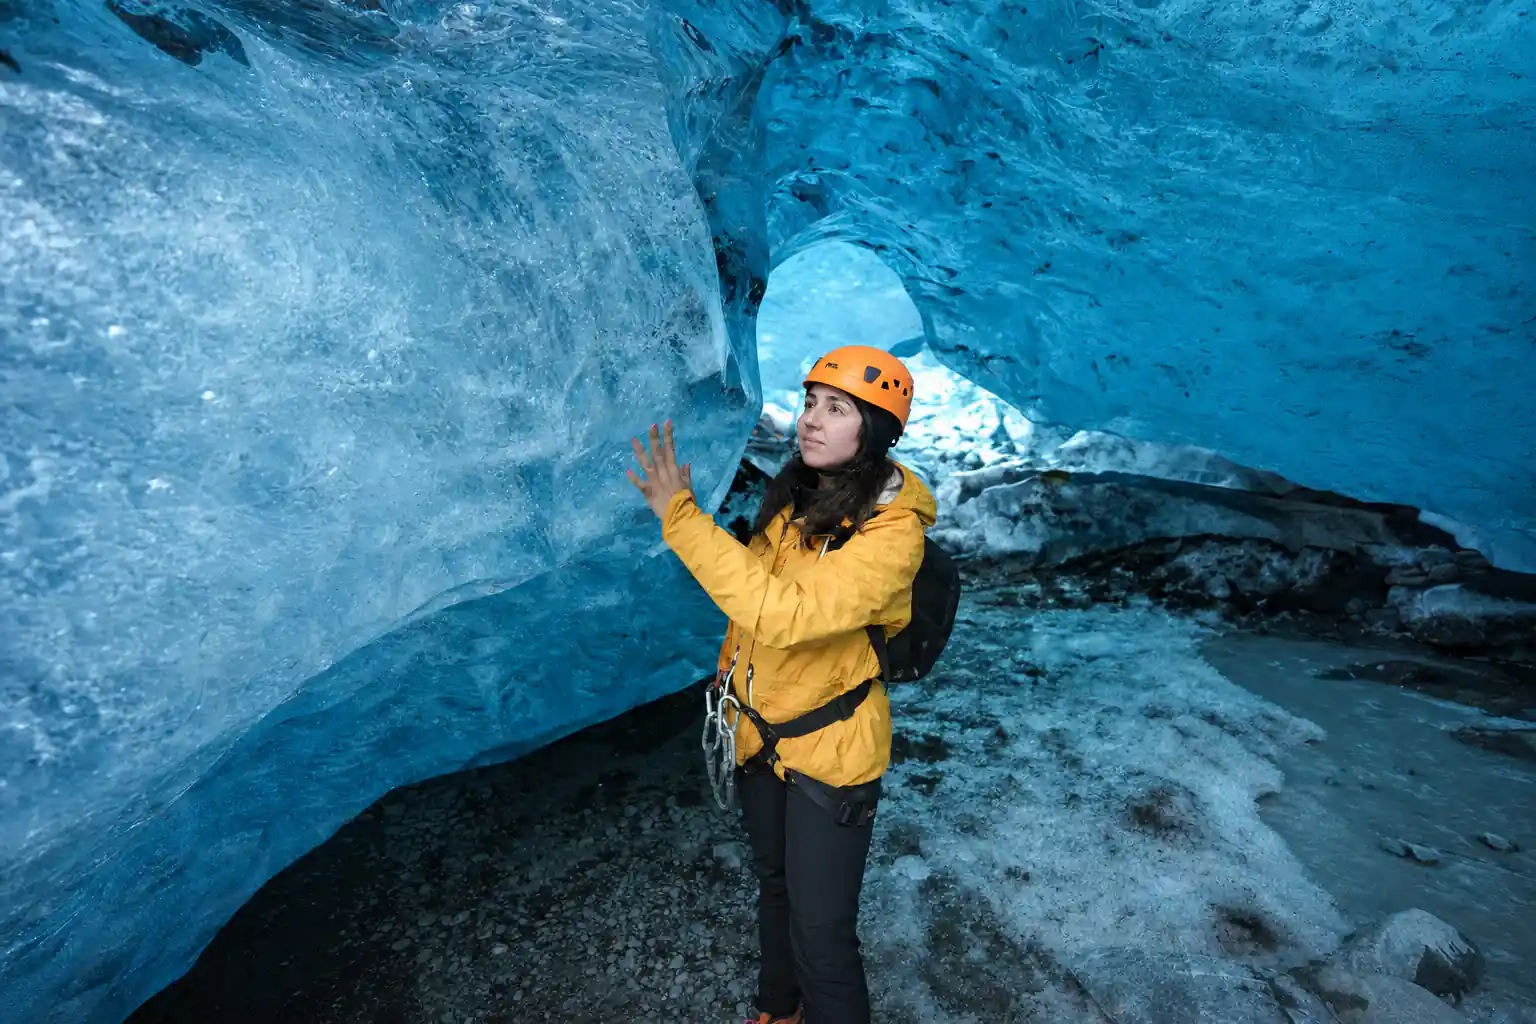
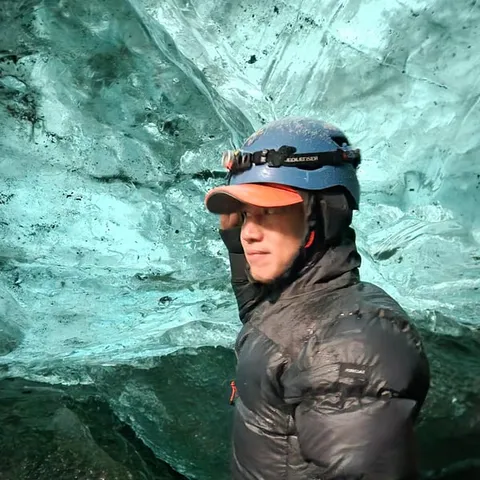
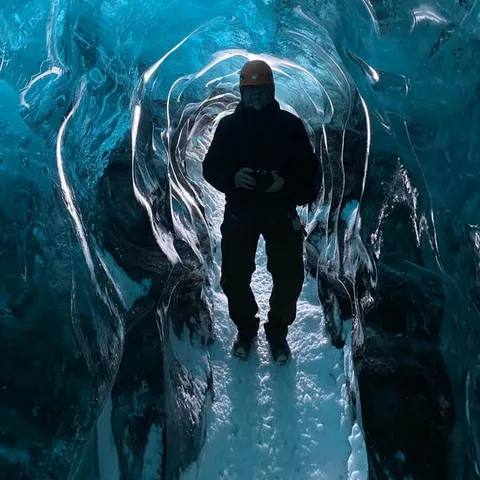
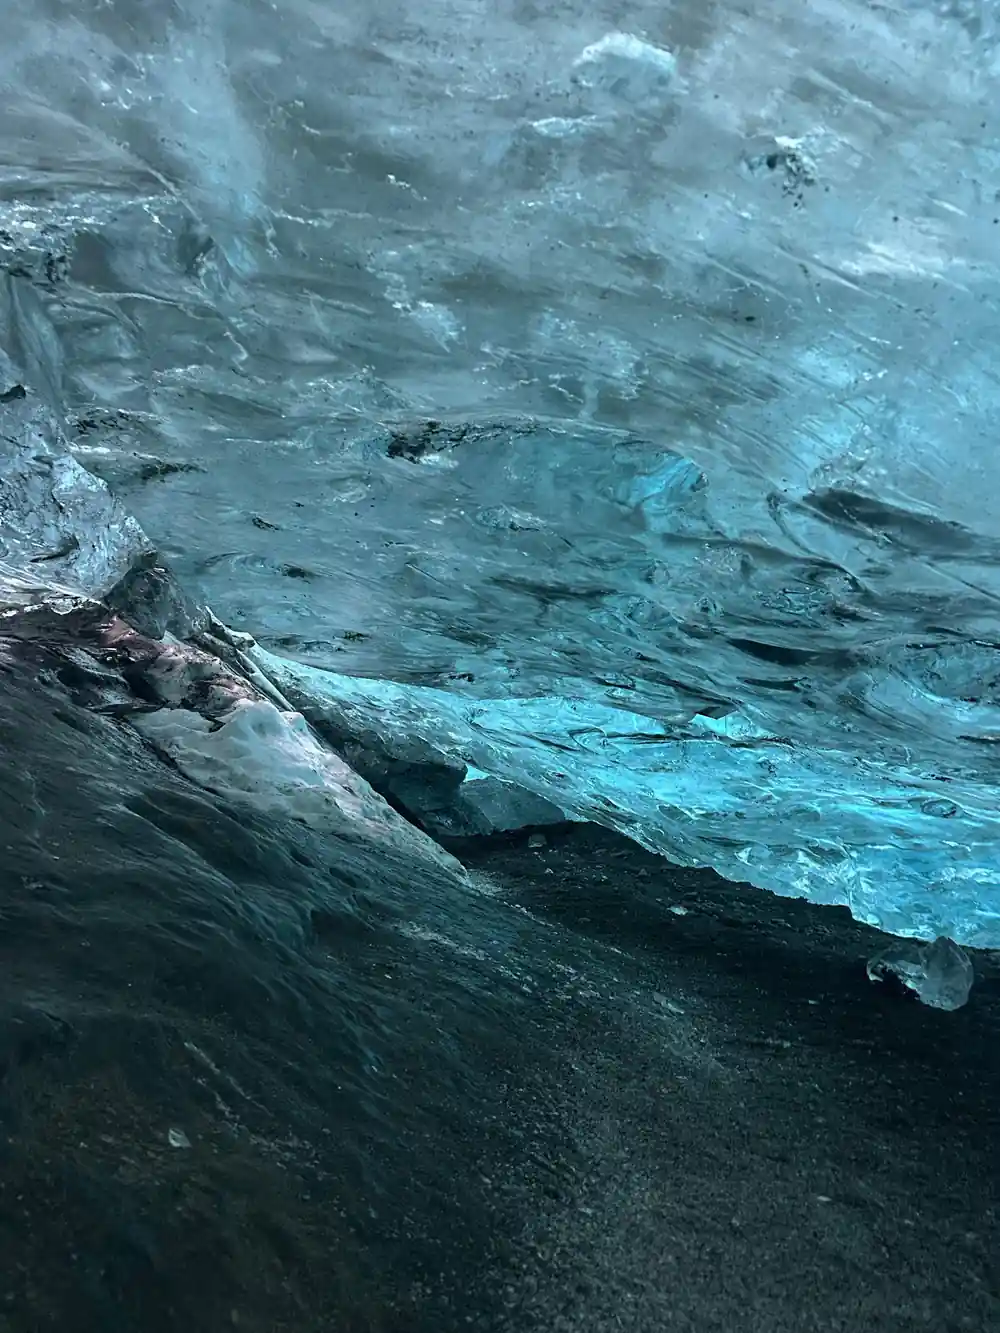
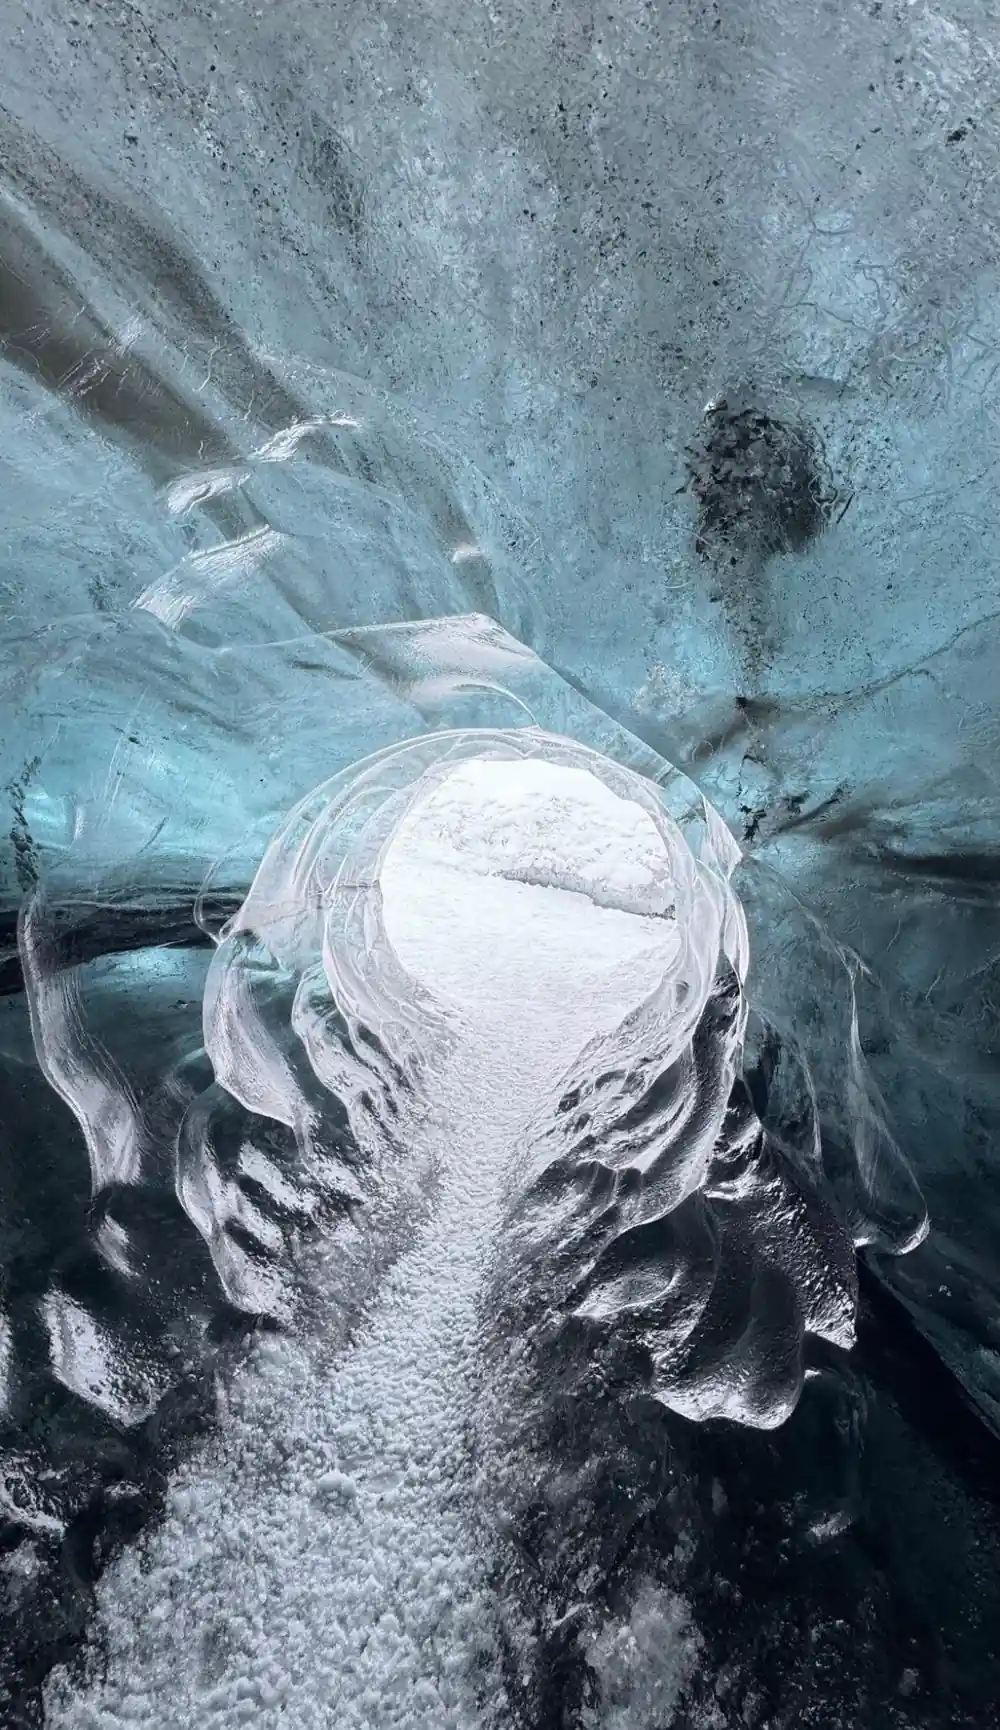
When light hits these crystals, they absorb long wavelengths of light. At the same time, they scatter short-waved blue light, which makes the ice appear blue.
Is this ice cave tour worth it for photographers?
Before you leave the hotel
- Charge every battery and format your cards the night before
- Check your meeting point and starting time when you book, as they vary by date
- Pack gloves you can shoot in, plus a thin liner pair
- Bring a dry microfibre cloth and a plastic bag for the camera
Inside the cave
- Ask the guide where you may stand and set a tripod
- Meter for the blue ice rather than the bright cave mouth
- Keep your phone in an inside pocket between shots
- Stay in single file and keep the passage clear for the group
Camera Settings for Ice Cave Light
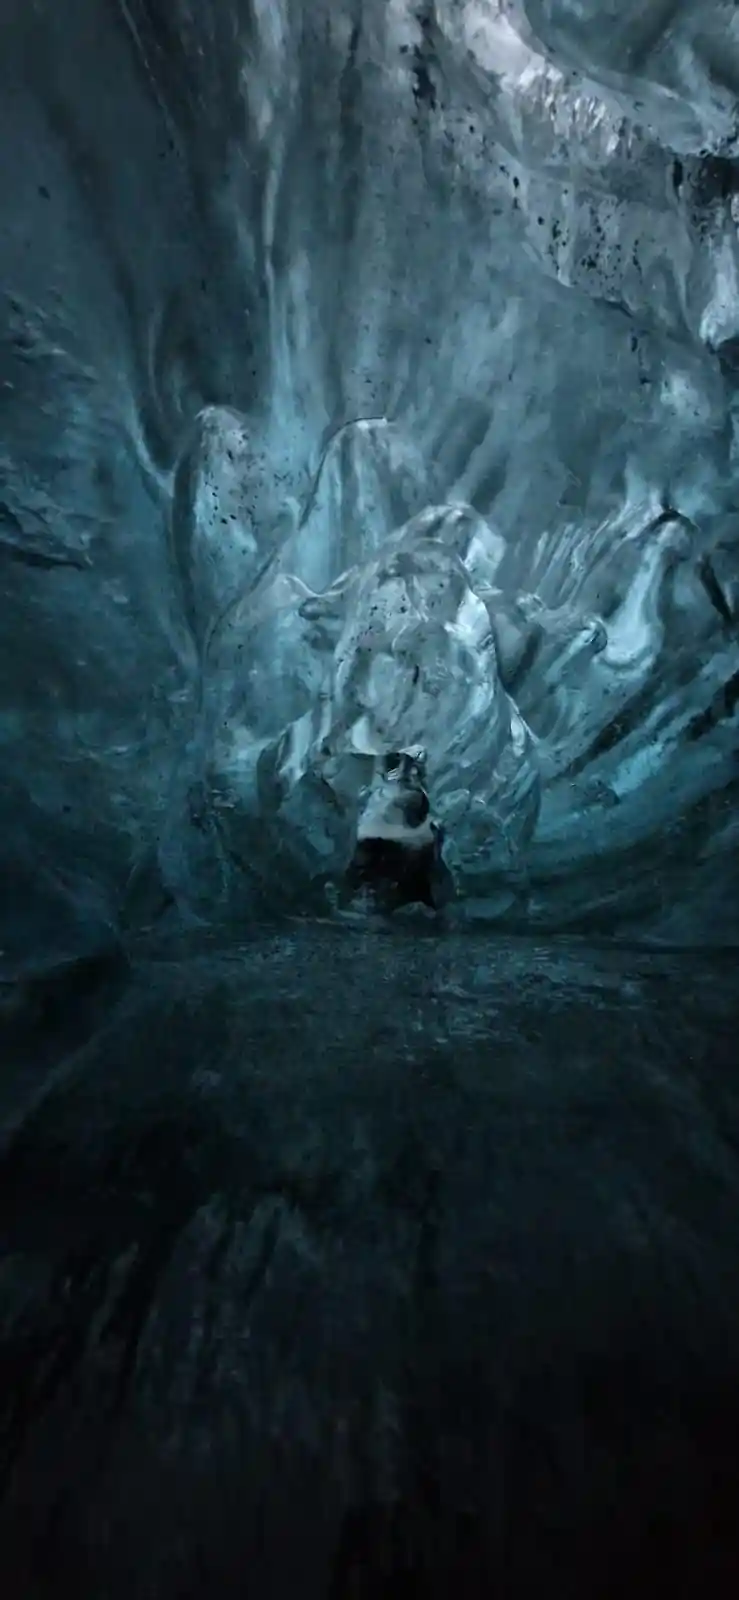
The blue inside a Vatnajökull cave is not a filter effect. When light hits the large, dense crystals in deep glacier ice, the ice absorbs long wavelengths and scatters short-waved blue light, and that is what makes the interior glow blue.[3] The glow is soft and fairly dim, so think wide aperture, a higher ISO and a slow shutter speed, then brace yourself against a wall, a pack or a companion before you press the button.
Manual mode keeps the look consistent from frame to frame. Open the aperture, pick an ISO you can live with, then adjust the shutter speed until the ice reads bright without washing out. Live view is a real help in a dark tunnel, because the screen shows the exposure far better than an optical viewfinder does, and it also lets you check white balance against something neutral in your bag.
Expect the cave mouth to fight you. Daylight pouring through an opening is far brighter than the ice around it, so meter for the ice and let the opening go white, or expose for the opening and lift the shadows at home. A raw file with plenty of shadow detail is worth more than a bright frame with flat, clipped blue.
Managing Lens Fog Between Temperatures
Fogging ruins more ice cave pictures than bad settings do. Iceland's average winter temperature sits at around 32°F (0°C), so a camera that leaves a warm car or a heated cafe meets cold air with warm glass, and every surface in the bag turns milky for a few minutes.[4] The reverse happens when you climb back into the vehicle and the cold lens meets warm, damp air.
The fix is patience and a plastic bag. Before you step outside, seal the camera in a ziplock or bury it deep in your pack and let it sit. Bringing a cold camera into a warm car inside a closed bag lets it warm up gradually, so the moisture in the air settles on the outside of the bag rather than on your front element. Open the bag too early and you undo the whole exercise.
Take two microfibre cloths and keep one dry. If a lens does fog, leave it alone until it clears, then use the cloth on any water spots. Breathe through your nose and away from the glass, and resist the urge to huff on the front element, which only makes things worse.
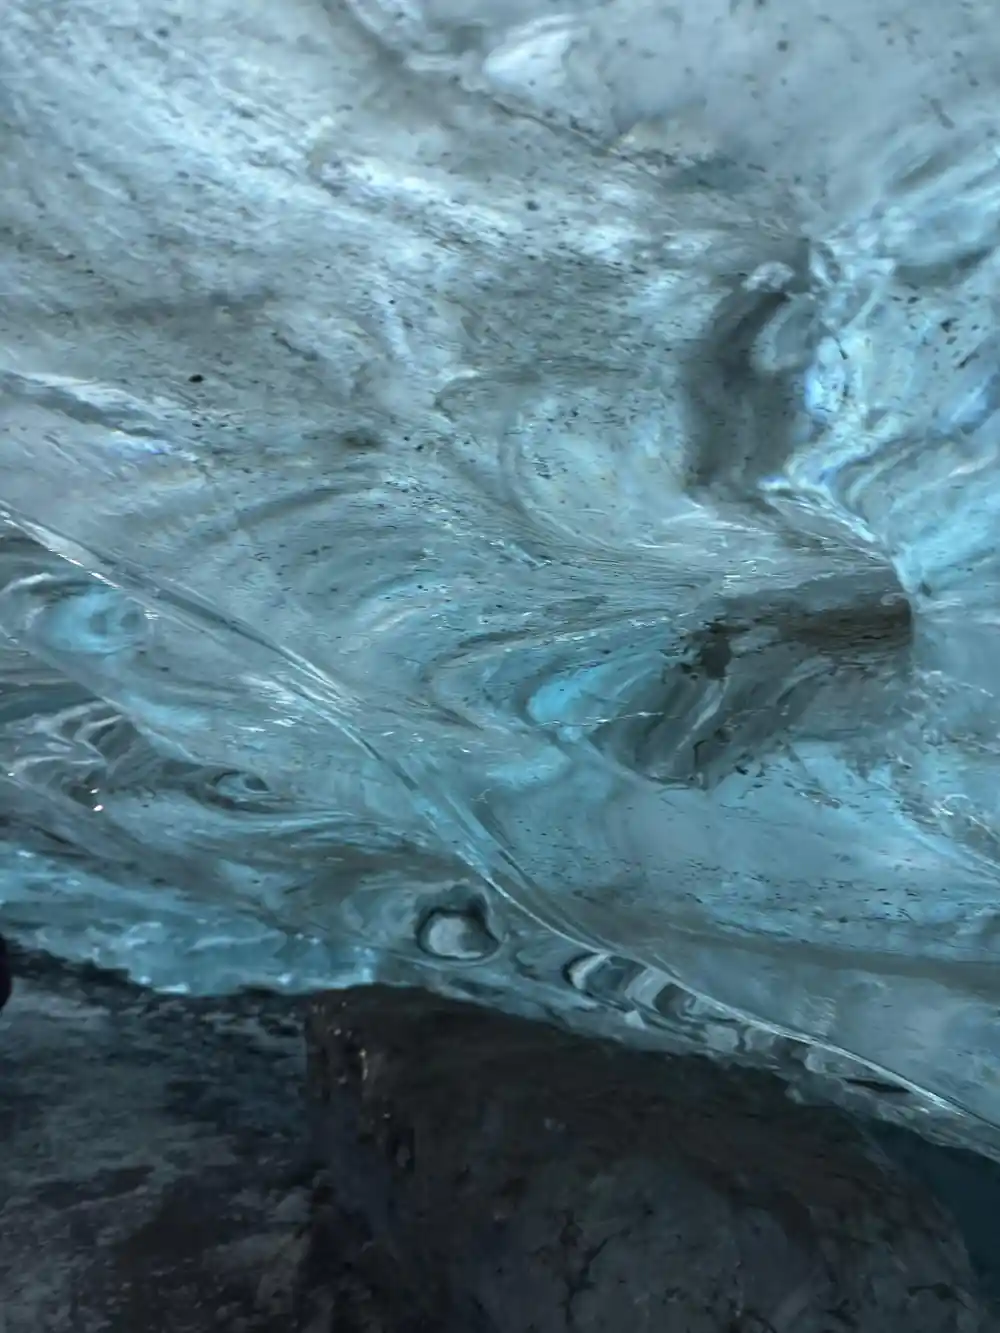
Blue light on the cave walls, the reason people carry a camera underground
Phone Cameras in Ice Cave Conditions
Modern phones handle dim blue light surprisingly well, and for plenty of travellers the phone is the camera that actually comes home with pictures. Iceland's average winter temperature is around 32°F (0°C), cold enough to make a phone sluggish and hungry for power, so keep it in an inside pocket against your body rather than an outer pocket or a cold hip bag.[4]
In the cave, tap the screen on the brightest patch of ice, then drag the exposure slider down until the blue looks like blue instead of pale grey. Hold the phone against your chest, a wall or a friend's shoulder for the slow frames, take several shots in a row and pick the sharpest one later. Skip digital zoom, which costs detail you cannot get back, and give night mode a second or two of stillness to work.
The guided tour runs for 3 hours, which is plenty of time to work a scene properly rather than grabbing one frame and hurrying on.[1] Keep the phone dry when you are not using it, and wipe the lens with a soft cloth before every shot, because a single fingerprint turns every light in the cave into a smear.
Tripods and Monopods Inside the Cave
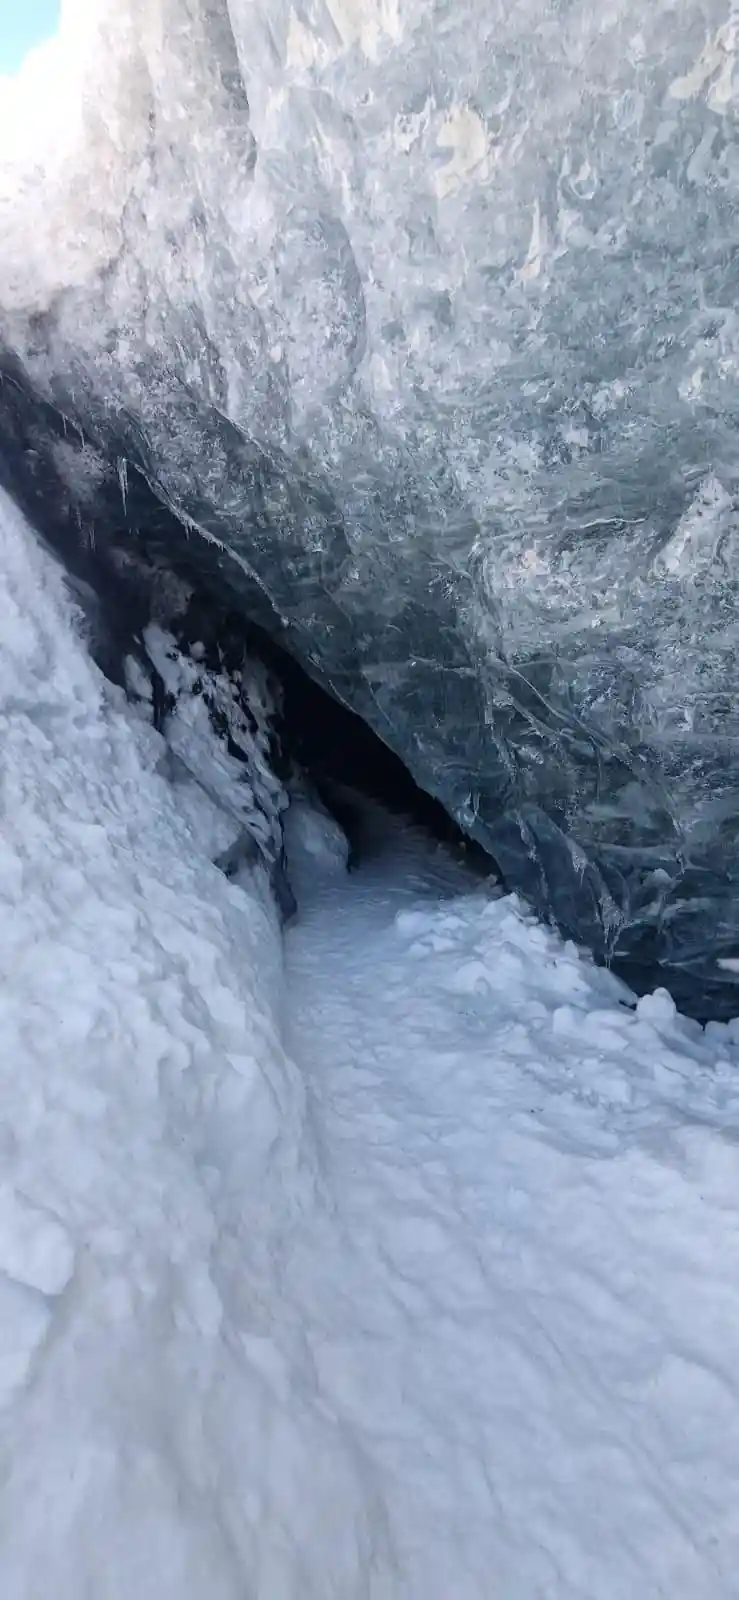
Ask your guide before you set anything down. Ice caves are tight, uneven places, groups move in single file, and a tripod with legs spread across a passage is a hazard for everyone behind you. Where the group stops for a few minutes a tripod is usually welcome. In a narrow corridor it is not.
A monopod or a small tabletop tripod is often a workable compromise, and a bean bag or a folded jacket on a flat shelf of ice does the same job for a long exposure. Keep the feet off thin, clear ice and out of the walking line, and remember that the people behind you have paid for the same view. If someone is waiting, take the frame and move on.
If serious tripod work is the point of your trip, look at the photo-focused listings. One small-group option is limited to 10 participants, lasts 3 hours and starts from US$181.[8] A private photo tour runs 5 hours from US$540 and gives you the guide and the pace to yourself.[9] Both listings are built around making pictures rather than passing through.
from US$164
The guided Vatnajökull ice cave tour runs 3 hours with an English-speaking guide and free cancellation up to 24 hours in advance.[1]
Battery Performance in Freezing Air
Cold is hard on batteries. Capacity falls, the meter drops, and a camera that was fine in Reykjavík can die halfway through a cave. Natural ice caves in Vatnajökull form in October and last through April before the returning meltwater takes them back in May, and Iceland's average winter temperature sits at around 32°F (0°C).[2][4]
Carry at least one spare battery in an inside pocket and rotate them. A cold battery that has just died often comes back to life once it is warm, so do not leave it behind. Turn off image review, wifi and bluetooth, switch the camera off between shots instead of letting it idle, and keep live view for the moments when you really need it.
At the end of the day, let the camera and the batteries come back to room temperature slowly, inside a bag, before you charge anything. Then top up every battery overnight, because a full set matters if you are shooting the lagoon and Diamond Beach the next morning.
Drone Rules and Permits Around Vatnajökull
Sort out drone permission before you travel, not on the morning of the tour. Check the current requirements from the Icelandic authorities, and remember that permission is the pilot's responsibility rather than something a guide can grant at the cave.
On a guided trip the group sets the pace and the guide's instructions come first. A cave visit is a short, shared window, so ask before you launch anything and be ready to be told no. There is usually more than enough to keep a still camera busy.
Inside the cave, leave the drone packed. The space is tight, the ceiling is low, the ice is fragile and the rest of your group is standing in the frame. Save the flying for open country on another day, and put your energy into the light on the walls, which is what people want to see when you get home.
Lighting the Cave Mouth: Shooting Hours
Icelandic daylight swings hard across the year, from 4 to 5 hours in late December to about 21 hours by late June.[4] Jökulsárlón is about 370 km (230 miles) from Reykjavík and the drive takes roughly 5 hours each way in good conditions.[5] The lagoon has stood in for other places on screen in A View to a Kill, Die Another Day and Lara Croft: Tomb Raider, and harbour seals are the most common seal species in the area.[10][11]
Cave trips fit the cold half of the year, when a natural ice cave in Vatnajökull is in its winter form, forming in October and holding until the meltwater takes it back in May.[2] Above it sits the ice cap itself, 3,120 feet (950 m) thick at its deepest point and 1,250 feet (380 m) on average.[12] Around the middle of the day there is more light to work with, and a bright overcast sky throws a soft, even wash into the cave mouth. Save the blue hour for the lagoon, where the icebergs and the black sand do the work for you.
The tidal inlet that became Jökulsárlón was excavated during the last glacial advance, about 26,500 years ago.[13] Jökulsárlón is 248 meters (814 feet) deep and has quadrupled in size since the 1970s.[14] Some of the icebergs drifting past are thought to be made of ice more than 1,000 years old, and the Breiðamerkurjökull outlet glacier that calves into the lagoon has retreated at up to 200 to 300 m a year in recent years.[14][15] Ice that drifts out to sea washes up on Diamond Beach in Southeast Iceland, where black volcanic sand makes the clear chunks stand out.[16]
How long you get on the ice
From-prices for ice cave and photo tours
When to book for the light you want
Shooting the blue ice
Book the cave slot
Ice cave trips run in the cold months. Meeting points and starting times vary, so check the details for your date before you commit.[2]
Pack for the cold
Iceland's average winter temperature is around 32°F (0°C), so bring layers, gloves you can shoot in, spare batteries and a dry cloth for the lens.[4]
Settle the exposure
Open the aperture, raise the ISO and slow the shutter until the ice reads blue rather than grey, then check the screen after every change.
Brace and shoot
Lean on a wall or a friend, take several frames of each view, and keep the passage clear for the rest of the group.
Protect the gear
Seal the camera in a bag before you step back into a warm vehicle and let it warm slowly, so the condensation lands on the bag and not on the glass.
Take the guided route into the blue ice
from US$164Reserve now & pay later